Field note · 18 November 2026
Put walls: how batching changes the pick path
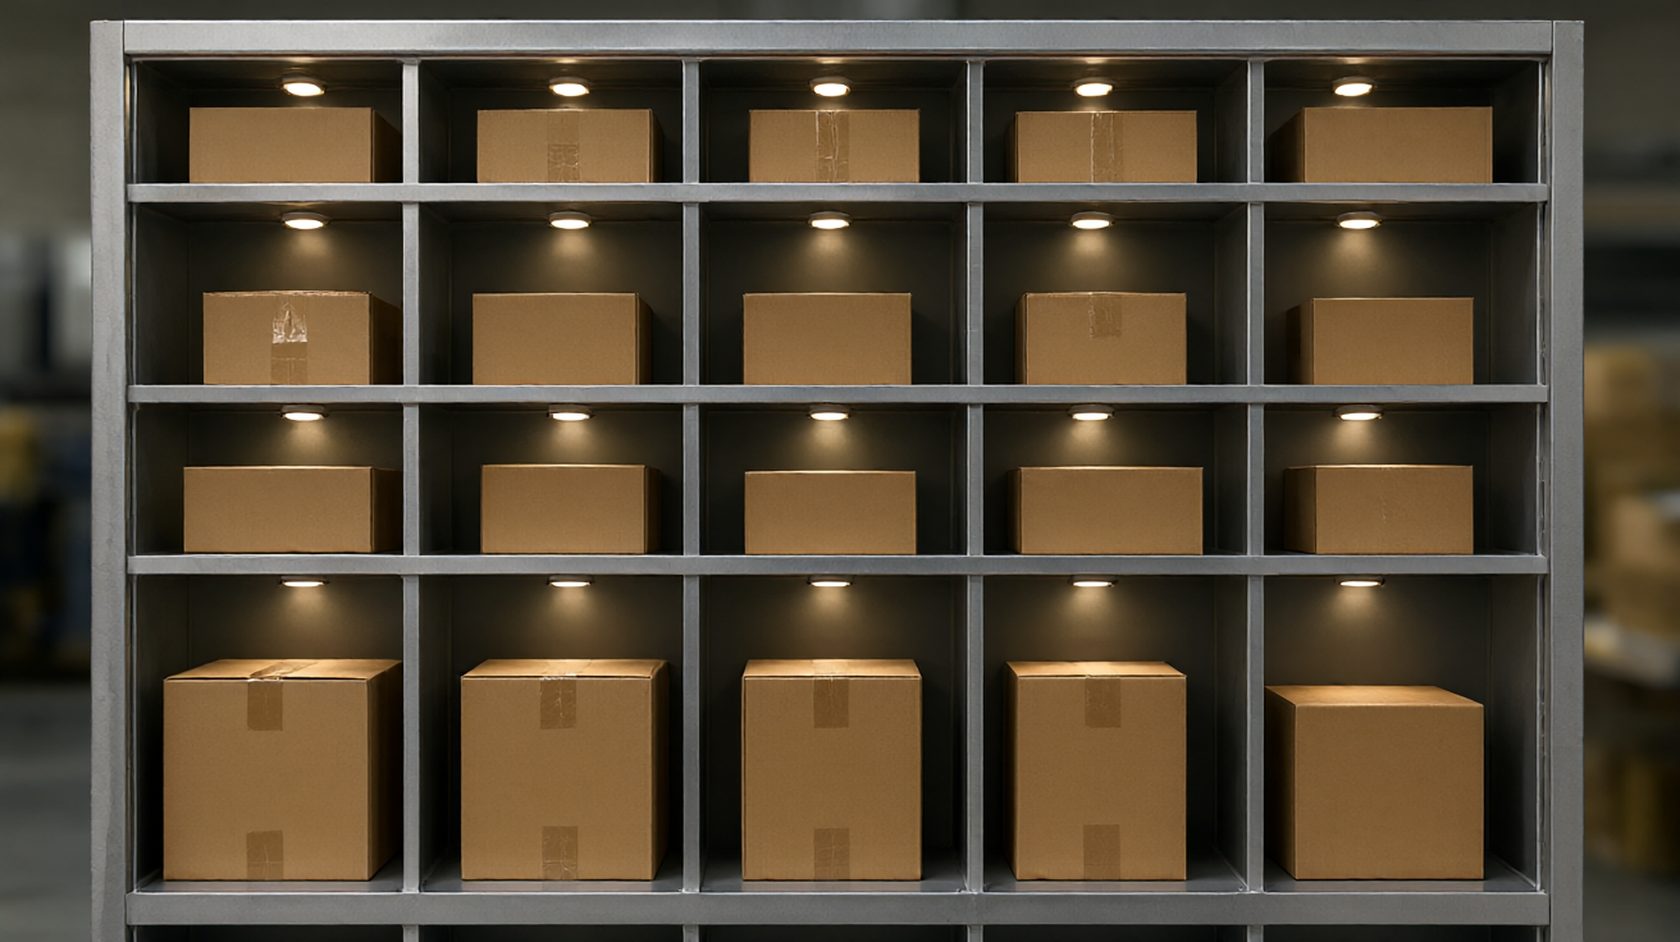
A put wall is a rack of cubbies that turns one pick into many orders. The wall is simple; the discipline it imposes on the pick path and the order release is not.
01The wall in one paragraph
An order picker takes items from a pick face and puts them into a cubby. Each cubby is one order, or one part of one order. When the cubby's contents are complete, the order is packed and the cubby is reused.
A put wall with 40 cubbies turns a batch of 40 orders into one pass through the pick aisles. That is the entire economics of the technology: fewer passes, more orders per hour, at the cost of a sorting step.
The wall is passive. Everything that makes it work is upstream - the batch, the pick sequence, the cubby assignment - and downstream - the pack station that empties the cubby before the next batch lands.
02Batching: the decision that sets the rate
The batch size is set by the number of cubbies and by the pick density. A batch of 40 orders that share 60 stock lines is efficient; a batch of 40 orders that share 400 stock lines is not, because the picker walks the whole warehouse for every batch.
The usual practice is to cluster orders by zone or by delivery route before they reach the wall. A batch that shares a zone can be picked in one walk; a batch that does not will spend its gains on travel.
The batch also has to be releasable. If the orders in the batch are not all confirmed, the cubbies sit half full and the wall's capacity is tied up in orders that cannot ship yet.
03Cubby assignment and the exceptions
Cubby assignment is a control decision: by order, by route, by carrier cutoff. Each scheme optimises something different, and the ones that work in practice are the ones the pack station can read at a glance.
Multi-item orders that exceed one cubby are the exception that decides the wall's layout. A wall with a few double-width slots handles them without a separate consolidation area.
The exception flow needs a place to live. Orders that fail - wrong item, damaged item, short pick - come out of the wall and into a problem area, and the wall's throughput is only as good as that area's capacity to clear.
04The put-to-light layer
Most production walls have lights. The light tells the picker which cubby, and the confirmation tells the system the item landed. Without the lights the wall still works, but the error rate rises and the training time doubles.
The light pattern is not decoration: it encodes the order's remaining items and the cubby's status. A picker who ignores the colour convention will put an item into a cubby that is already complete, and the order ships with an extra unit.
The lights also make the wall auditable. Every put is a scan or a button press, and the exception rate becomes a number rather than an anecdote.
05Where the wall fits, and what it will not fix
A put wall is a good fit for e-commerce with many small multi-line orders, and for operations where the pick face is dense and the pack station is close.
It does not fix a bad pick face. If the items are not where the system says they are, batching multiplies the error: one wrong pick becomes forty wrong orders instead of one.
It does not fix a pack station that cannot keep up. The wall releases orders in batches, and a pack station that clears one order per minute will back the wall up within an hour of a 40-order batch.
06Batch sequencing and cubby churn
The batch is picked in a sequence, and the sequence decides how often a cubby is opened and closed. A sequence that fills cubbies early leaves the picker walking past full slots for the rest of the pass.
The usual practice is to order the pick list by cubby completion, so that the picker closes a cubby as soon as it is full and the pack station can take it away.
Churn is the measure of how many cubbies are released per hour. A wall that releases forty cubbies in a shift is a wall that is not keeping up with a forty-order batch every hour.
The churn number is also the pack station's workload, and the two have to be planned together. A wall that releases faster than the pack station clears is a wall that fills up and stops.
07The pack station interface
The wall's output is a cubby that is ready, and the pack station needs to know which one without asking. That is a light, a screen or a label, and the choice decides the pack rate.
A pack station that has to scan the cubby's contents to know the order is a pack station that spends a third of its time identifying work rather than doing it.
The interface also has to handle the cubby's return. An empty cubby goes back to the wall, and a wall that waits for cubbies is a wall that is limited by its container count rather than its order count.
The container count is therefore a design decision: one set in use, one set in transit and one set at the pack station is the minimum, and most walls run short of the third set.
08The metrics worth watching
Orders per hour through the wall, cubby utilisation and exception rate are the three numbers that describe the wall's health.
Cubby utilisation below sixty per cent means the batch is too small or the order profile is too sparse for the wall's size. Utilisation above ninety per cent means the wall is the constraint and the batch is being held up.
The exception rate is the number that pays for the lights. A wall with a two per cent exception rate is a wall that ships forty wrong orders in a two-thousand-order shift, and each of those costs a return.
None of these metrics is reported by the wall's own software in most installations. They are collected by the supervisor with a clipboard, which is why they are usually not collected at all.
09The picker's memory and the order sequence
A batch of forty orders is a batch of forty destinations, and the picker holds the sequence in working memory. Beyond about twelve destinations the memory becomes a guess.
That is why a put wall is paired with a put-to-light layer, and why the light's colour convention has to be learnable in a day. A picker who has to look up the convention for every item is a picker working at half rate.
The sequence should also follow the wall's geometry: left to right, top to bottom, so the eye can follow the lights rather than search for them. A wall laid out in the order of the pick list is a wall that gets used correctly.
Agency staff turn over weekly in most operations, and a wall whose convention takes a week to learn is a wall that is only correct half the time.
10Replenishment and the pick face behind the wall
The wall multiplies the pick face's throughput, and it multiplies its replenishment demand by the same factor. A pick face that was adequate for single-order picking will run dry twice as often under batches.
Replenishment has to be triggered by the batch, not by the shift. A face that is replenished at the start of a shift will be empty by the second batch, and the picker will spend the third pass waiting.
The usual solution is a min-max level per location with a picker-initiated call, plus a replenishment team that can respond within the batch cycle rather than within the shift.
A wall without replenishment discipline is a wall that produces starved cubbies, and a starved cubby holds an order that cannot ship.
11The recount at the end of the batch
Every batch ends with a recount, and the recount is where the wall's accuracy is measured. A batch with three missing items is a batch with three orders that cannot ship.
The recount should be done by the pack station rather than the pickers, because the pickers have an interest in the result. The pack station's count is the honest one.
The wall that matches a 40-order batch with double-width slots for the exceptions is the put wall, and its cubby count is what the batch size is built around.
What to check
- Batch size tested against pick density, not chosen by cubby count alone
- Cubby assignment scheme readable at the pack station
- Exception area with capacity to clear failed orders
- Put-to-light convention documented for agency staff