Field note · 18 November 2026
3D put walls: shelves that multiply a wall's order count
A two-dimensional put wall holds one cubby per position. A 3D wall stacks cubbies on shelves, and the cost is a pick path that has to be navigated rather than scanned.
01What changes when the wall gets depth
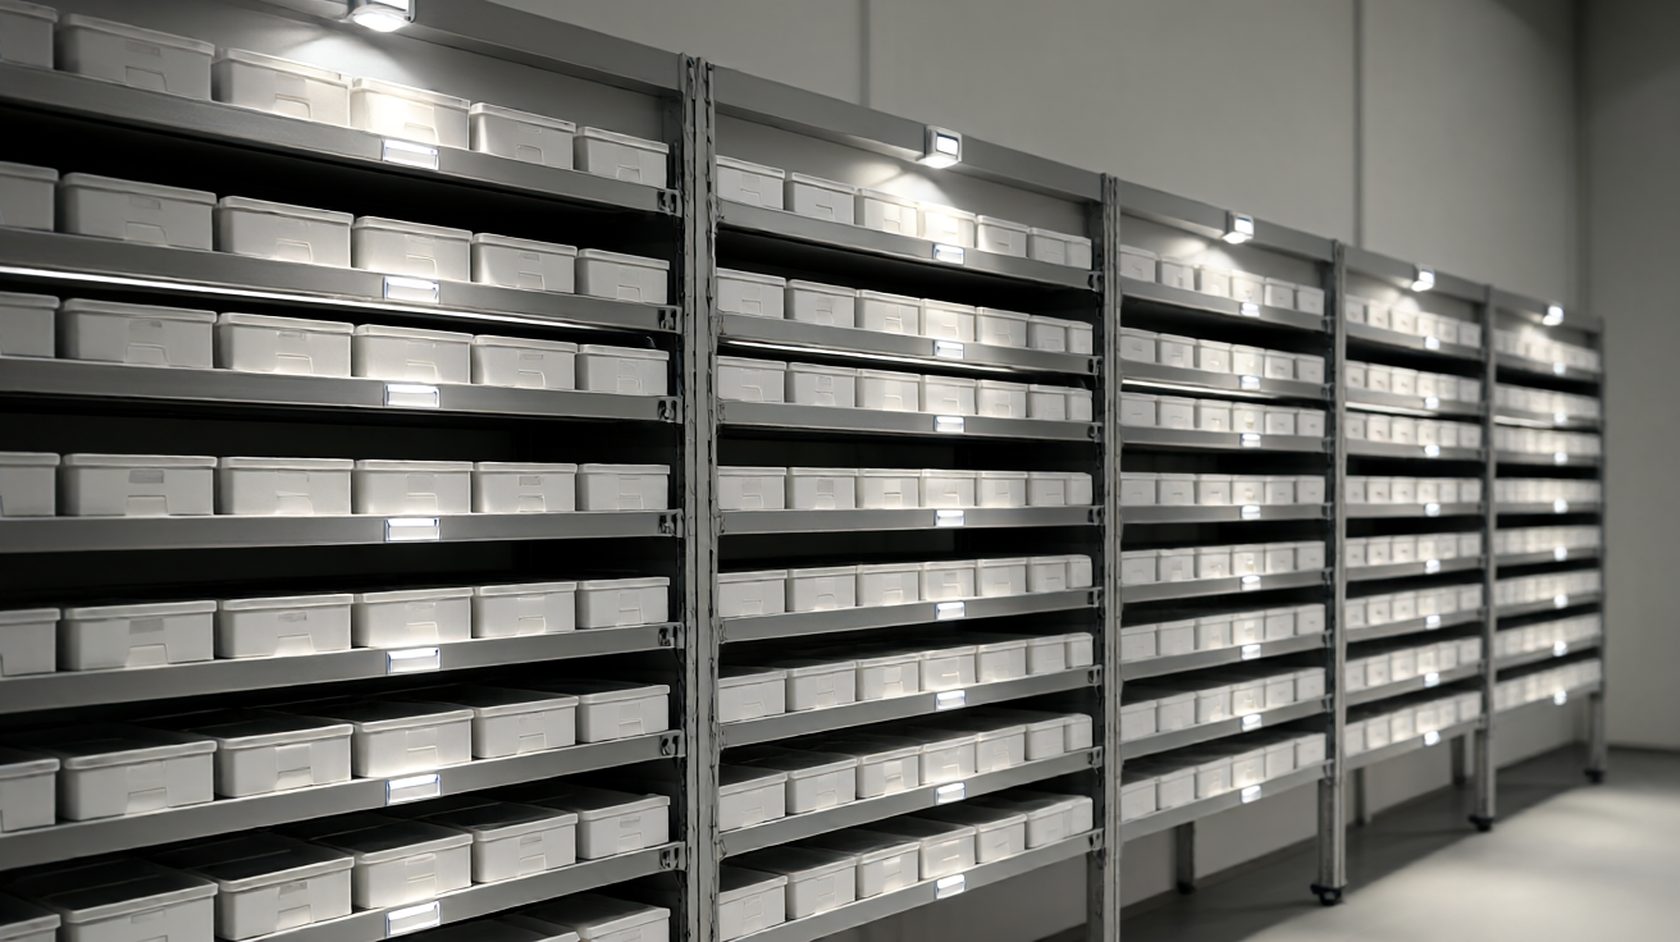
A flat put wall is a grid: rows, columns and a light per cubby. A 3D wall adds shelves, so one position holds several orders, and the picker selects a shelf as well as a column.
The effect on capacity is immediate. Forty positions become 120 or 160 orders per batch with the same floor footprint, which is exactly what an operation with a small packing area needs.
The effect on the pick path is also immediate: the picker now looks up and down as well as across, and the light has to tell them which shelf before they reach the position.
02Ergonomics: the shelf that is too high
Shelves above shoulder height slow the put and increase errors. The top shelf is where the wrong-cubby puts happen, and the reason is simple: the light is visible and the cubby is not.
A 3D wall is usually laid out with the most active orders at waist height and the slowest at the top and bottom. That ordering is a decision made from the order profile, not from the rack drawing.
The bottom shelf has its own problem: the picker bends, and over a shift the bend costs more time than the reach.
03Lighting and confirmation
A 3D wall needs a light per cubby, not per column, or the picker has to count shelves by feel. The cost of the lights is the main reason a 3D wall is not the default choice.
Confirmation can be a button, a scanner or a weight check. Weight checking is the most reliable and the slowest; buttons are the fastest and the least certain.
The compromise most operations land on is a scan of the item plus a button per put, with a weight check only on the exception shelf where the errors cluster.
04Feeding the wall from the pick face
The wall's rate is set by how fast the batches arrive, and the batch is set by the pick face. A dense pick face with a short walk time can support a 3D wall; a pick face spread across a warehouse cannot.
The usual arrangement is a pick-and-pass loop: the picker collects for several orders in one pass, and the wall sorts them. With a 3D wall the loop can be longer, because the wall absorbs more orders per pass.
The loop length is the constraint to watch. Increase the batch beyond the point where pickers can remember their sequence, and the error rate climbs even if the wall has room.
05Where 3D walls are the right answer
Small packing areas with many small orders are the natural home of a 3D wall. The wall trades floor space for vertical space and the packing station stays compact.
Operations with very high order counts and very low lines per order also benefit, because the wall's per-order cost falls as the order gets simpler.
The wall is the wrong answer when the items are bulky. A cubby that holds one item per shelf is a shelf that costs more than the floor it saves.
06Slot depth and the arm that has to reach
A 3D wall's slots are deeper than a flat wall's cubbies because the shelf has to hold a container. The depth is set by the largest order the wall expects, and the reach is set by the picker's arm.
A slot that is deeper than a forearm's reach is a slot where items get placed at the front and the back of the same container, which is a slot where items get lost.
The usual compromise is a slot depth of 300 to 400 mm with a pull-out container. The container comes to the picker, the picker puts, and the container goes back.
A pull-out container is slower per put and faster overall, because the alternative is a picker who leans into a shelf and loses the rhythm of the batch.
07Matching the wall to the order profile
The order profile decides whether a 3D wall is worth its lighting cost. Orders with three to eight lines and small items are ideal; orders with one line are better served by a simple chute or a bagging station.
The profile also decides the cubby size. A wall built for the average order will be too small for the top decile and too large for the rest, and the top decile is where the exceptions live.
The practical approach is to size the cubbies for the eightieth percentile and give the wall a small number of oversize slots for the rest. The oversize slots are where the exception handling happens.
A wall with no oversize slots is a wall that stops when an order does not fit, and the stop costs more than the extra slots.
08Lighting layout and the glare problem
A 3D wall's lights point at the picker as often as at the cubby, and glare is a real complaint in a wall with a hundred positions.
The fix is a diffused light with a narrow beam and a mount that angles it toward the container rather than the aisle. The light should be visible from the picker's working position, not from the doorway.
The second fix is the confirmation button's position: it should be reachable without stepping back from the wall, or the picker will confirm by memory and the light's value is lost.
Lighting is usually specified by the rack supplier and installed by an electrician who has never used the wall. A walk-through with the shift team before handover is the only reliable test.
09Two walls or one deeper wall
A second flat wall is sometimes cheaper than a 3D wall with lights on every shelf. Two flat walls double the positions without doubling the height, and the pick path stays at eye level.
The comparison is floor space against capital. A 3D wall wins when the packing area is fixed; a second flat wall wins when the building has room and the labour is cheap.
The deciding factor is usually the batch size the pack station can absorb. If the station can only clear forty orders an hour, a wall that holds a hundred and sixty is a wall that holds inventory rather than orders.
The honest test is a week of live batches on the proposed wall size, not a spreadsheet of positions per square metre.
10The wall as a buffer, not just a sorter
A 3D wall holds more than orders; it holds time. A wall with a hundred and sixty positions can hold the output of two picking passes while the pack station clears the first.
That buffer is what makes a batch system tolerable. Without it, the pickers and the packers have to run in lockstep, and any variation in either side stops the other.
The buffer's size should be planned as a time buffer rather than a position count: how many minutes of pack output can the wall absorb, and how many minutes of pick output can it store.
Operations that plan the wall as a buffer stop worrying about the batch size and start managing the variance, which is the actual problem.
11The shelf that becomes a warehouse
A 3D wall with shelves invites the operation to leave completed orders on the shelves until the carrier arrives. That is convenient for a week and ruinous for a year.
The shelf is a sorting position, not a storage position. An order that sits on a shelf is invisible to the next batch, and the wall's capacity quietly falls as the shelves fill with completed work.
The discipline is a carrier cut-off per shelf row: orders for the next collection are taken off, orders for later are allowed to sit. Without the cut-off, the shelves fill and the wall stops sorting.
The symptom is a wall that shows ninety per cent utilisation and delivers half its batch capacity. The utilisation number is right; the wall is being used as a warehouse.
The wall that trades floor space for shelves is the 3D put wall, and its shelf spacing is the dimension that decides whether the top row is usable or decorative.
What to check
- Shelf height split by order activity, not by rack convenience
- A light and a confirmation per cubby, not per column
- Batch size tested against picker memory, not just wall capacity
- Weight check reserved for the shelves where errors cluster